Learning to steek using crochet
Steeking is a technique used in stranded colourwork which allows you to knit in the round but produce a flat piece of work. It can also be used to make armholes.
It involves knitting a set of extra stitches into your round which you will reinforce before then cutting through them.
Although this is a very traditional method with a history of success, needless to say it can be scary when you first commit to taking a pair of scissors your much-loved work!
Here is a photo – tutorial which takes you through the basic steps I use to re-inforce, cut and secure a steek.
If you want to try this out on a little project then my Steeking Dandelion Cosy pattern can be found in the link below. The pattern includes a stitch by stitch version of this tutorial and is completely free of charge.


1. Locate your Stitches
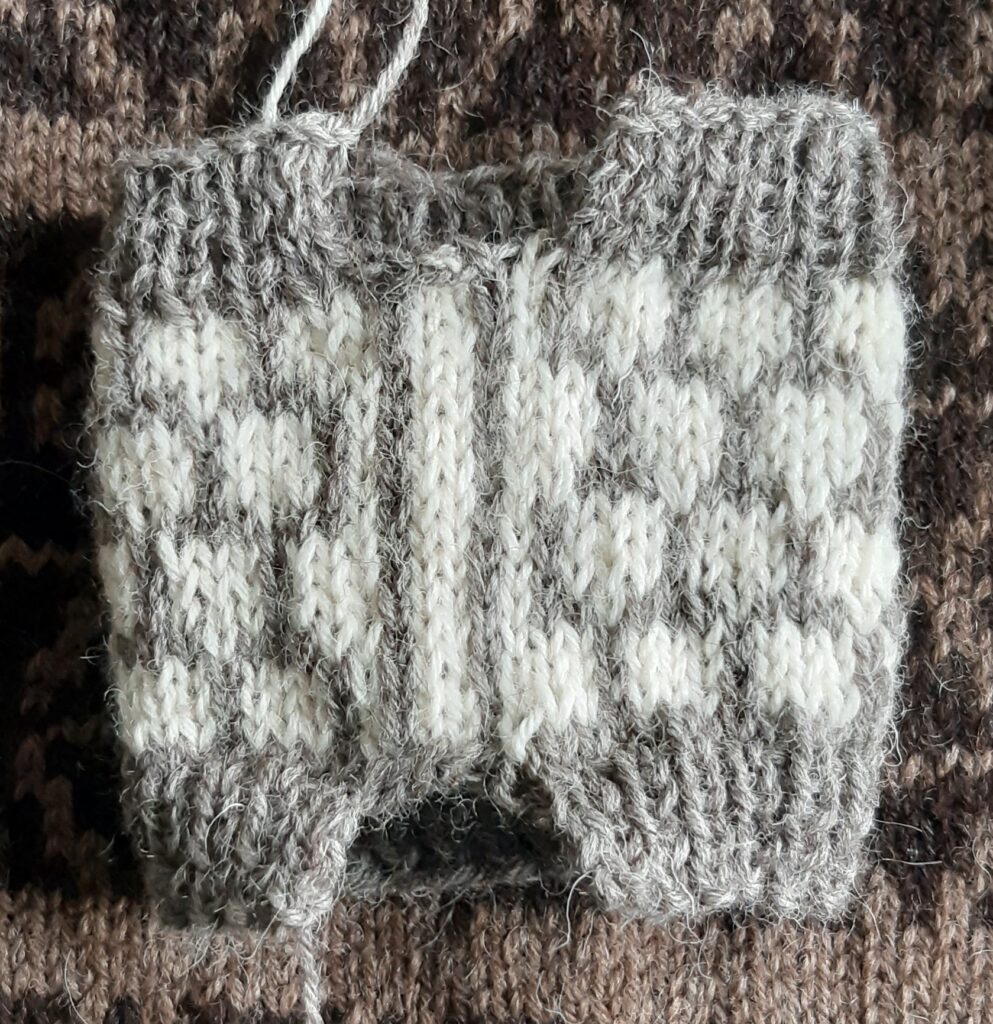
Any chart you use should make it obvious which stitches are part of the steek. There will be a clear colour or pattern change.
In this case the steek covers the central six stitches.
For this tutorial we will label them 1-6 from left to right.
The cutting line is between stitches 3 and 4.

2. Attach the reinforcement yarn
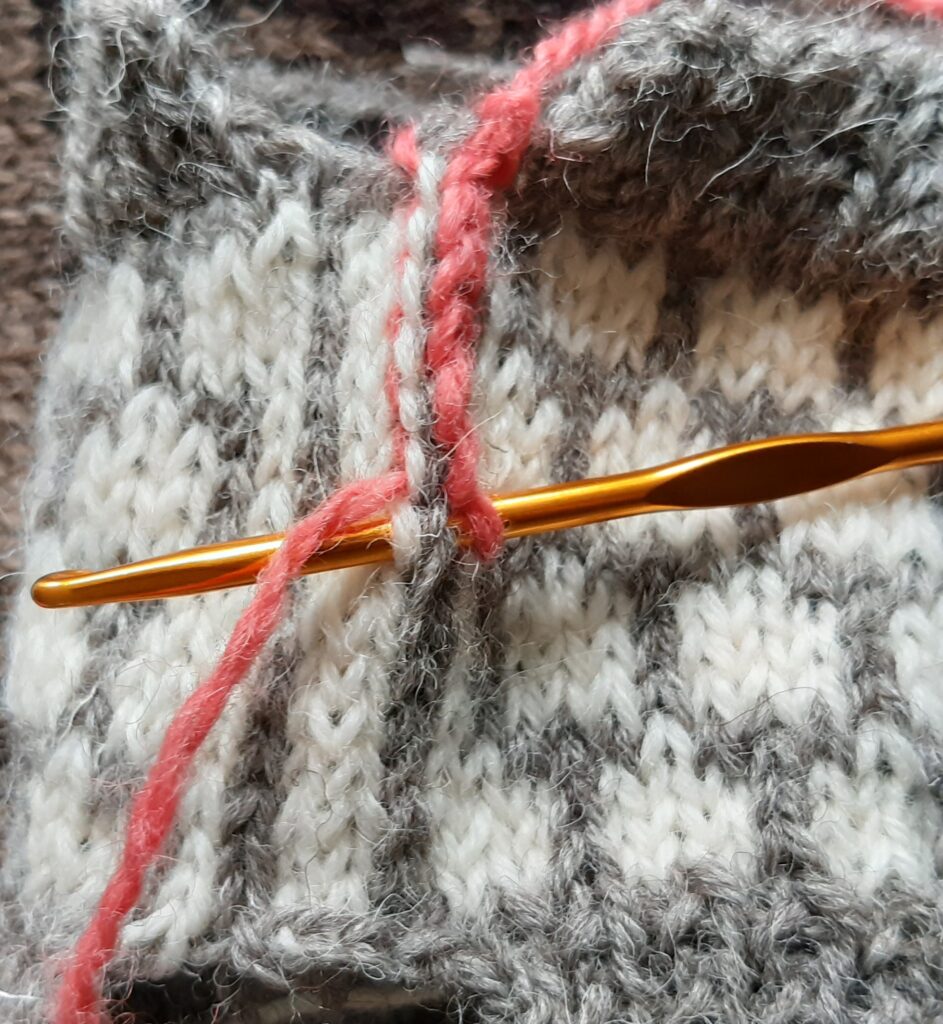
Using a contrast colour yarn, make a slip knot and hook it through the edge of the steek.

3. Secure the reinforcement
Secure your yarn by wrapping it around the hook and pulling through.

4. Start the reinforcement
Hooking through the left leg of stitch 5 and right leg of stitch 4. Wrap the working yarn over the hook and pull through both stitches of the steek and the loop on the hook.

5. Continue the reinforcement
Moving down your work repeat step 4 until you reach the end of the steek. Break your yarn and secure it by pulling it through the loop.


6. Working the other side
Turn your work 180 degrees and work steps 4 and 5 but using the right leg of stitch 2 and the left leg of stitch 3.
Your reinforcement should now look like the photo. Take your sharp scissors and carefully cut up the horizontal rungs of yarn running between stitches 3 and 4.

7. Edging your work
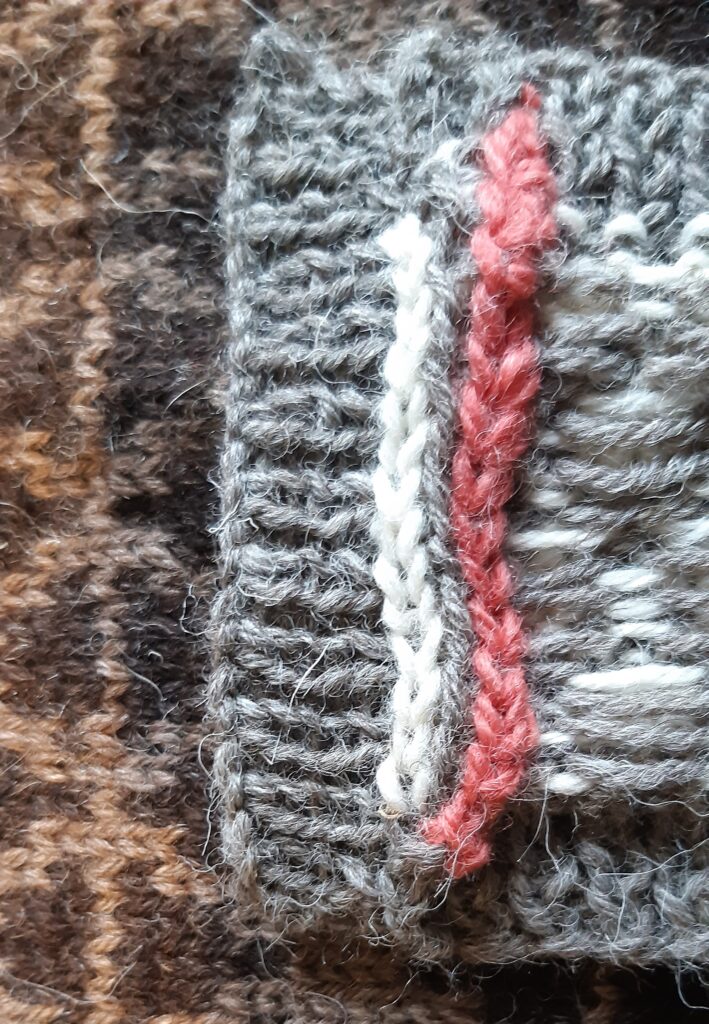
The stitches either side of the steek can be picked up to create a border. In this case I worked a ribbed edge.

8. Securing the Steek
The steek is secured by slip stitch on the reverse of your work and all the ends are hidden away.
Phew…..
and Congratulations!
