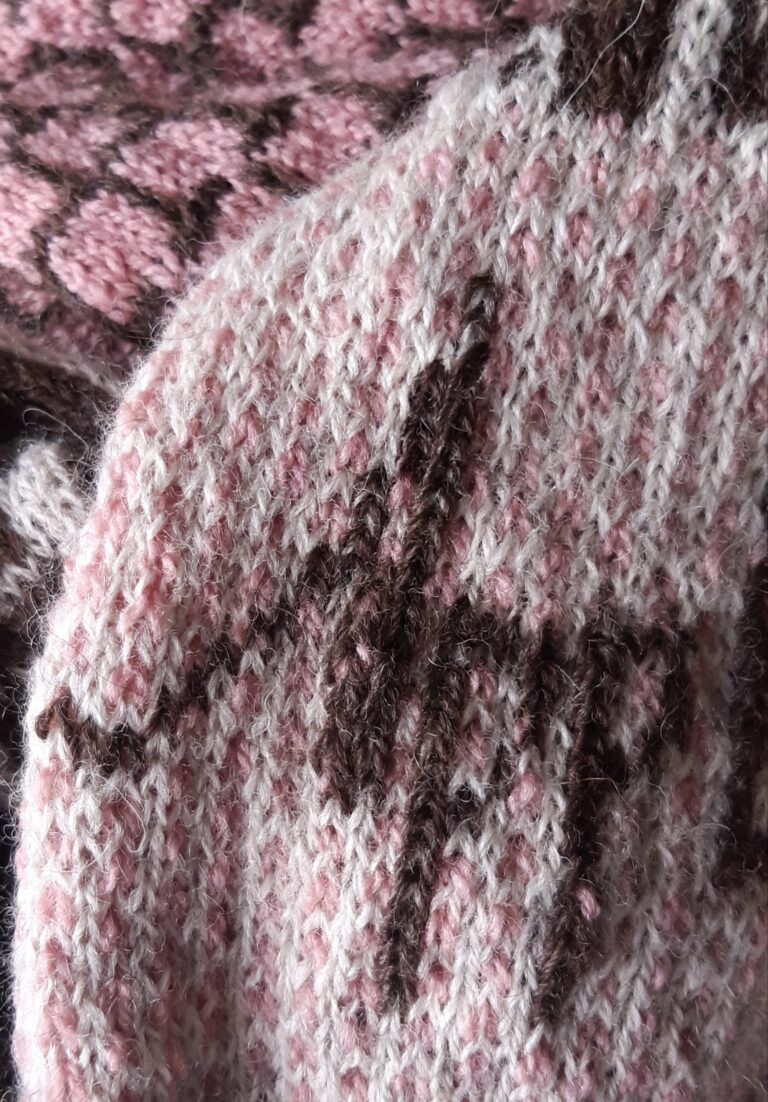
Experimenting with plant dyes
People have been using plant dyes for many hundreds of years. In a bid to move away from using synthetic dyes that are based on coal tar and other harmful chemicals, as well as reducing my impact on water pollution, I decided to have a go myself.
Now I am not living the life of a fairy in the forest, nor do I have the patience for sitting stirring a pot, so I needed another method than the normal.
So I dye using a microwave.
It’s good for small amounts and reduces both the time and energy used.
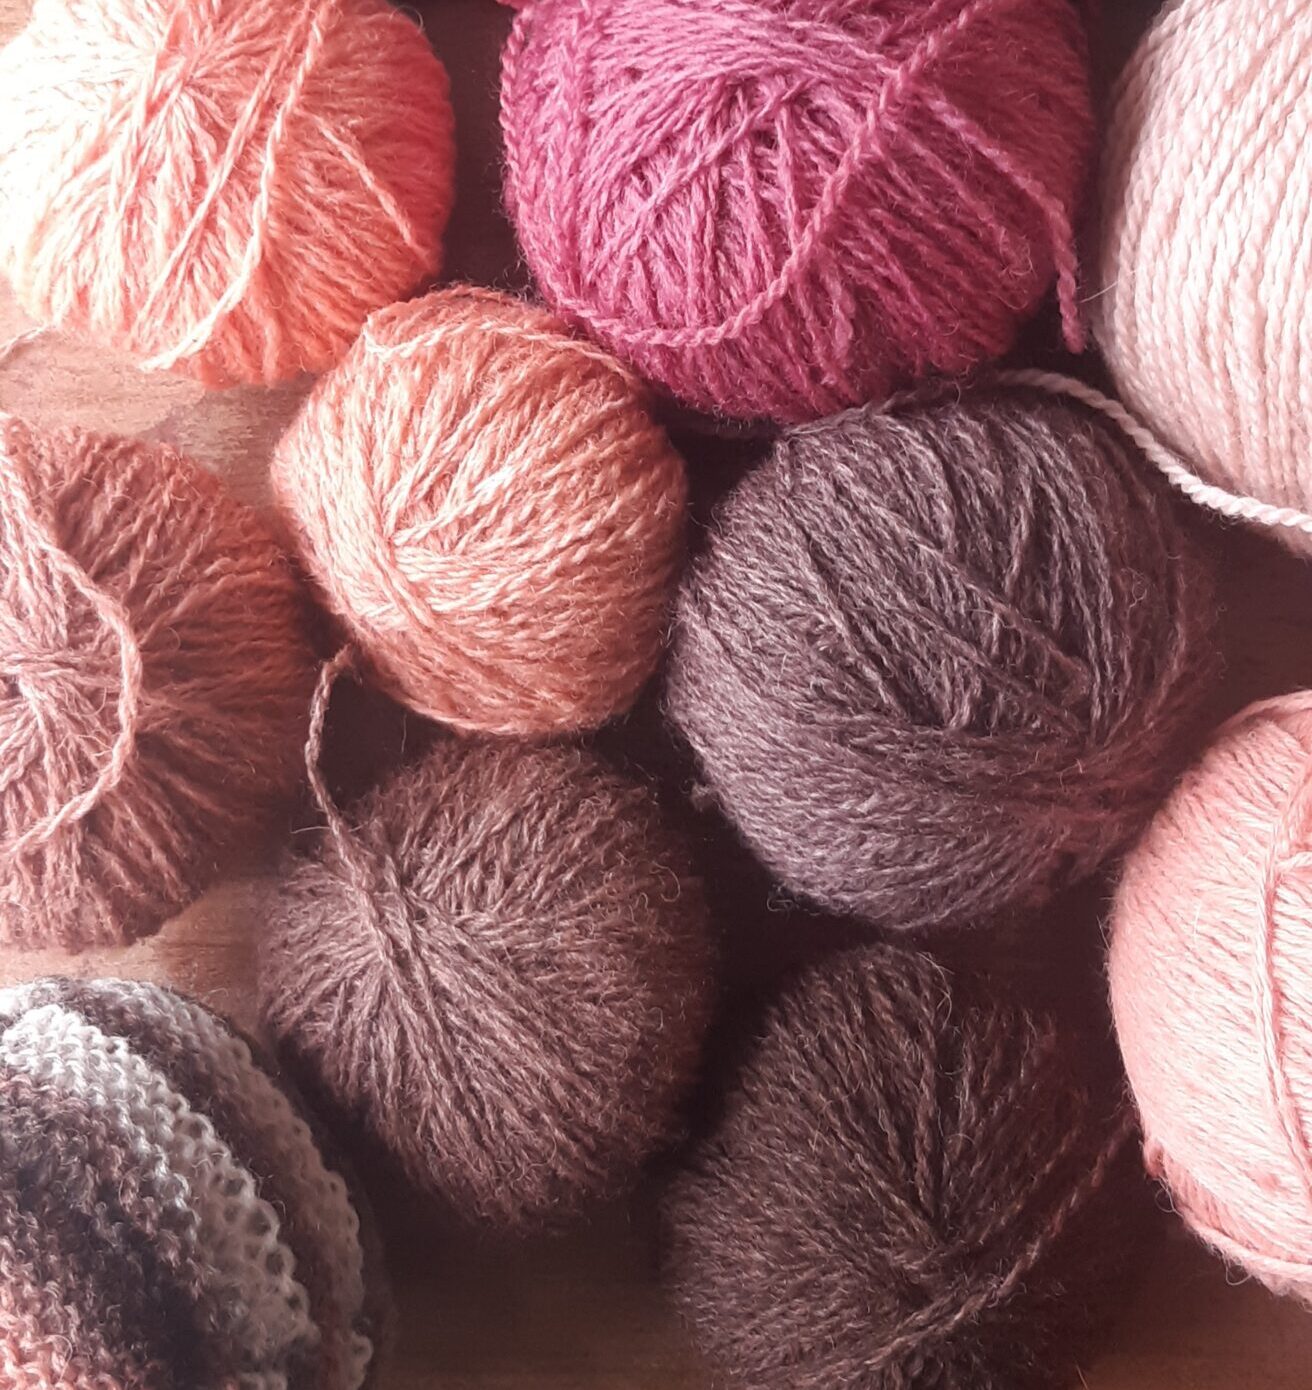
So on this page I will be sharing some of my triumphs and probable disasters as I learn to add some colour to the already beautiful shades of natural fleece.
I hope that you find it interesting and feel inspired to have a go yourself.
Honestly, it’s just wonderful fun and no mistake cannot be rectified. Well none that I’ve made so far!
Getting Started
This all started for me with a kit I got from @debbie_tomkies so she should take a lot of the credit for this method.
Please be aware that this method involves very hot water, carrying weighty things and using powdered chemicals, so it should only be carried out by those who can safely follow these instructions.
What you will need
- Up to 100g of pure wool or other animal fibre
- Two plastic buckets of about 5l. The sort you get bird feed in work well.
- One plastic, microwaveable tub that fills your microwave. Mine is a cake tub that is about 10cm (4 inches) tall and 23cm (9 inches) in diameter.
- washing up liquid (soap)
- alum mordant (available online as aluminium ferrous sulfate)
- an accurate balance to weight the mordant and dye
- a teaspoon that you keep away from food
- tongs for tranferring and stirring your wool
Here's my Basic Method
Take a hank of wool, no more than 100g, put it in a bucket or tub, add enough water to soak it and a drop of washing up soap to help the wool sink. Leave for about 30 minutes.
Meanwhile make up your mordant solution. The mordant help fix the dye to the wool. Rarely this isn’t needed, like when dyeing with onion skins, sometimes you can use plant-based mordants like tea or rhubarb leaves, but often and to start, I used alum which you buy as a powder. It’s not expensive.
However, it is an irritant, so you are advised to wear gloves when handling it. In fact I’d add a dust mask to that too. If you do get some on your hands or surfaces, quickly wash off with plenty of water.
Make sure you are working somewhere with good ventilation.
Weigh out about 20-25g (an ounce) of mordant into one of your tubs.
Add very hot water to dissolve the mordant powder.
Add more cool water. Enough to soak your wool.
Add your wool.
Using tongs or your gloved hands, make sure the wool is submerged.
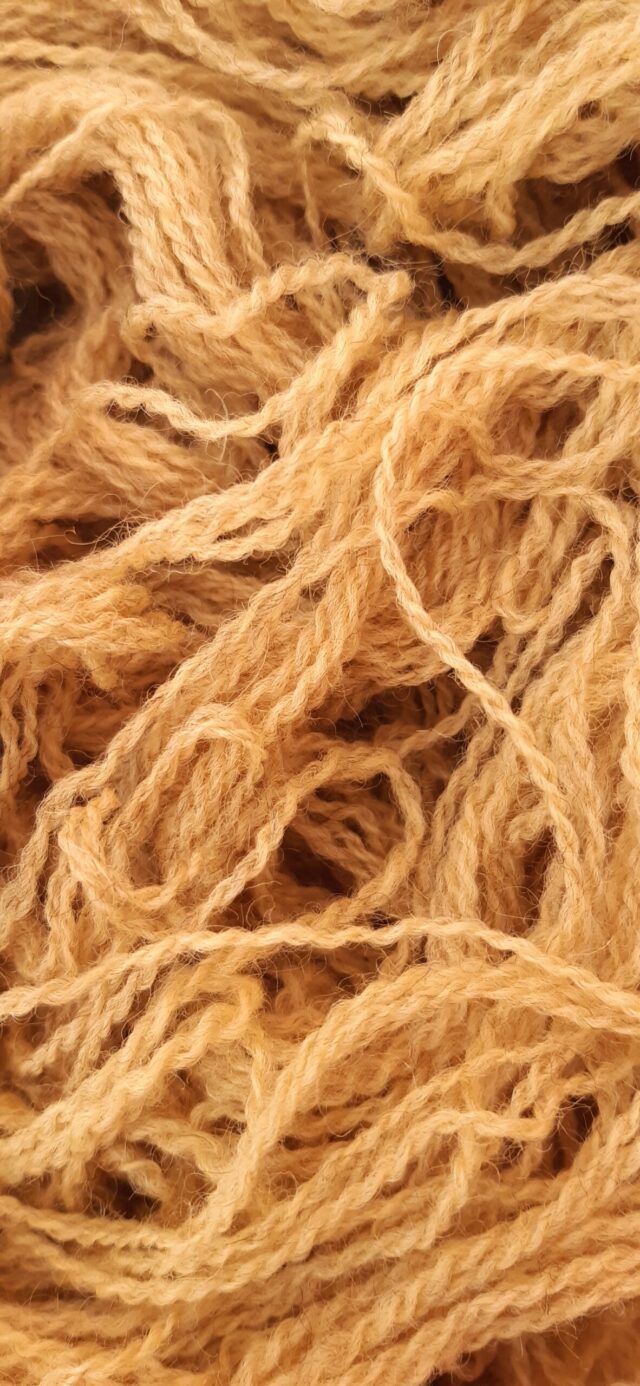
Yarn dyed with dried buddleia flowers
Mordanting
Carefully put your tub of mordant and wool into the microwave.
Set the microwave to full power and heat for 5 minutes.
Open the door for a minute.
Repeat this process another 5 times so that you have heated the mordanted yarn for 30 minutes in total.
The solution should be very hot but not simmering. My microwave is 800W. If yours is more powerful then reduce the time by 5 minutes.
Carefully and wearing gloves in case of spills, remove your tub and place it somewhere safe and away from food to cool.
This could take a couple of hours.
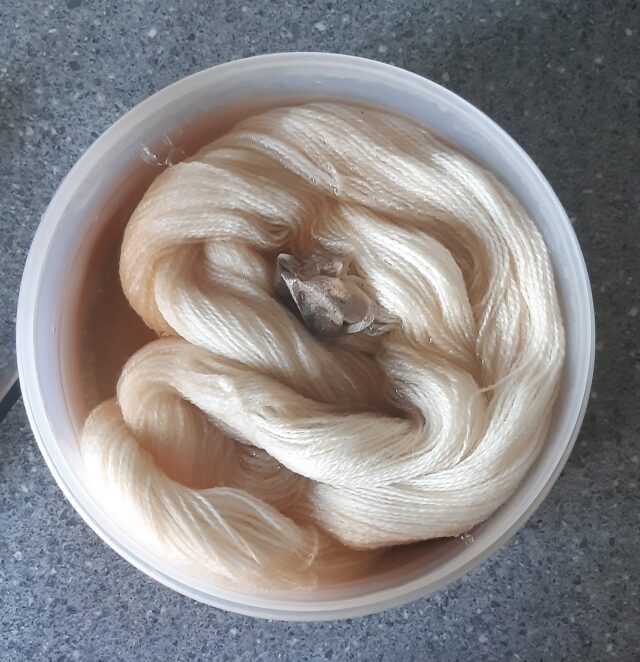
Here I have used a teabag for the mordant
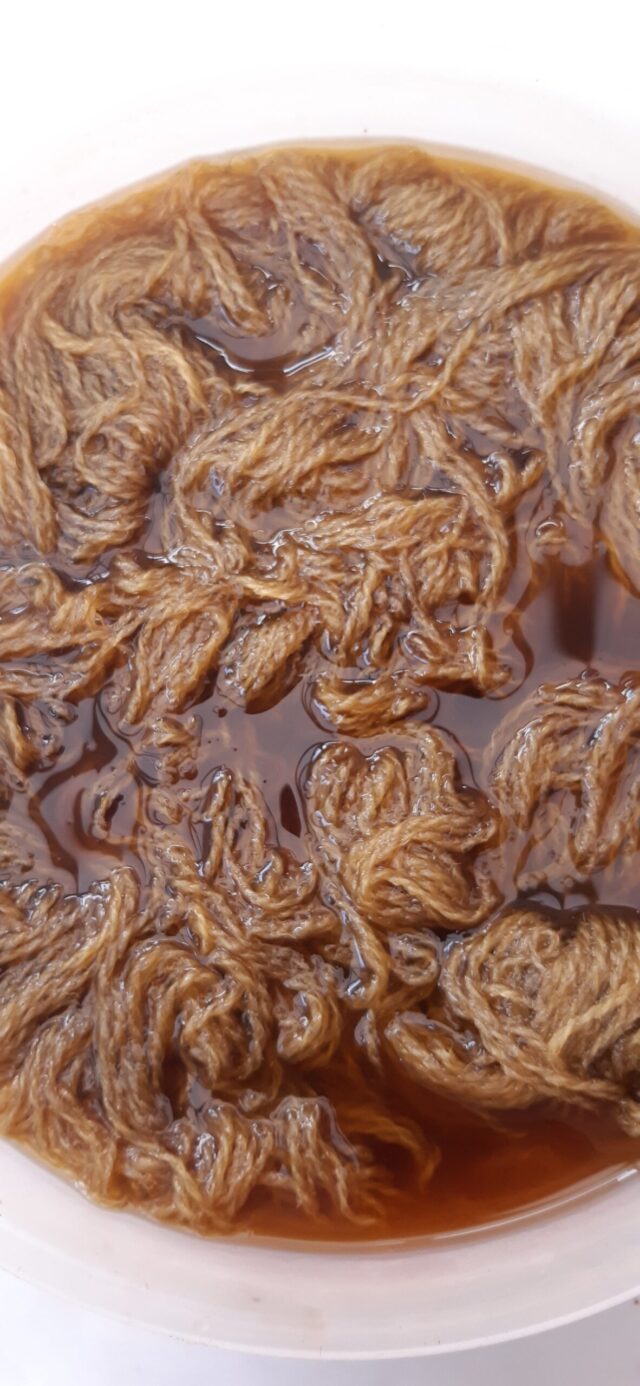
Dyeing the Yarn
This process is like the mordanting.
Using your tongs or gloved hands and working over a sink or basin, take the yarn out of the tub, wash out the tub, give the yarn a quick rinse and leave it to drain in the sink.
Weigh out about 5g of dye powder into you rinsed, dry dye bath.
Add a small amount of boiling water and use your spoon to create a paste.
Stir in more warm water, enough to soak your yarn. Make sure your dye colour is evenly distributed.
Using tongs, add the yarn and make sure that it is submerged.
Rinse out your sink.
Repeat the microwave heating like the mordanting stage but stir every 5 minutes using your tongs and heat for a total of 25 minutes.
Leave to cool completely. This allows the maximum amount of dye to be taken up by the yarn.
This is yarn dyed with dried buddleia flowers
And finally
Take your dyebath to the sink.
Rinse out your yarn until the water runs clear.
Hang the dyed yarn out to dry.
You can either save your dye left in the bath for another batch, which will be paler, or mix it with another colour, or keep it just in case you want to add a bit more colour to your yarn.
I have dyed with madder red and a teabag in the same bath which gave me three different colours; starting with a raspberry pink, then a brown burgundy with brown wool and then a subtle pinky beige with a cream wool.
Or you can simply pour it over your plants in the garden or down the drain.
Then all that is left to do is to admire your work and marvel at the wonder of plants!
r
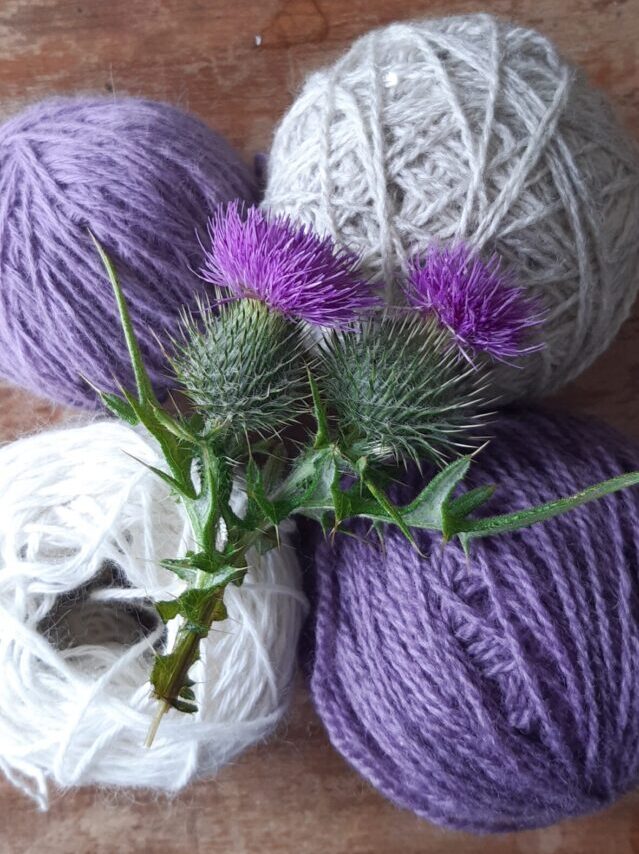
This is yarn dyed with logwood purple