Zea Shawl

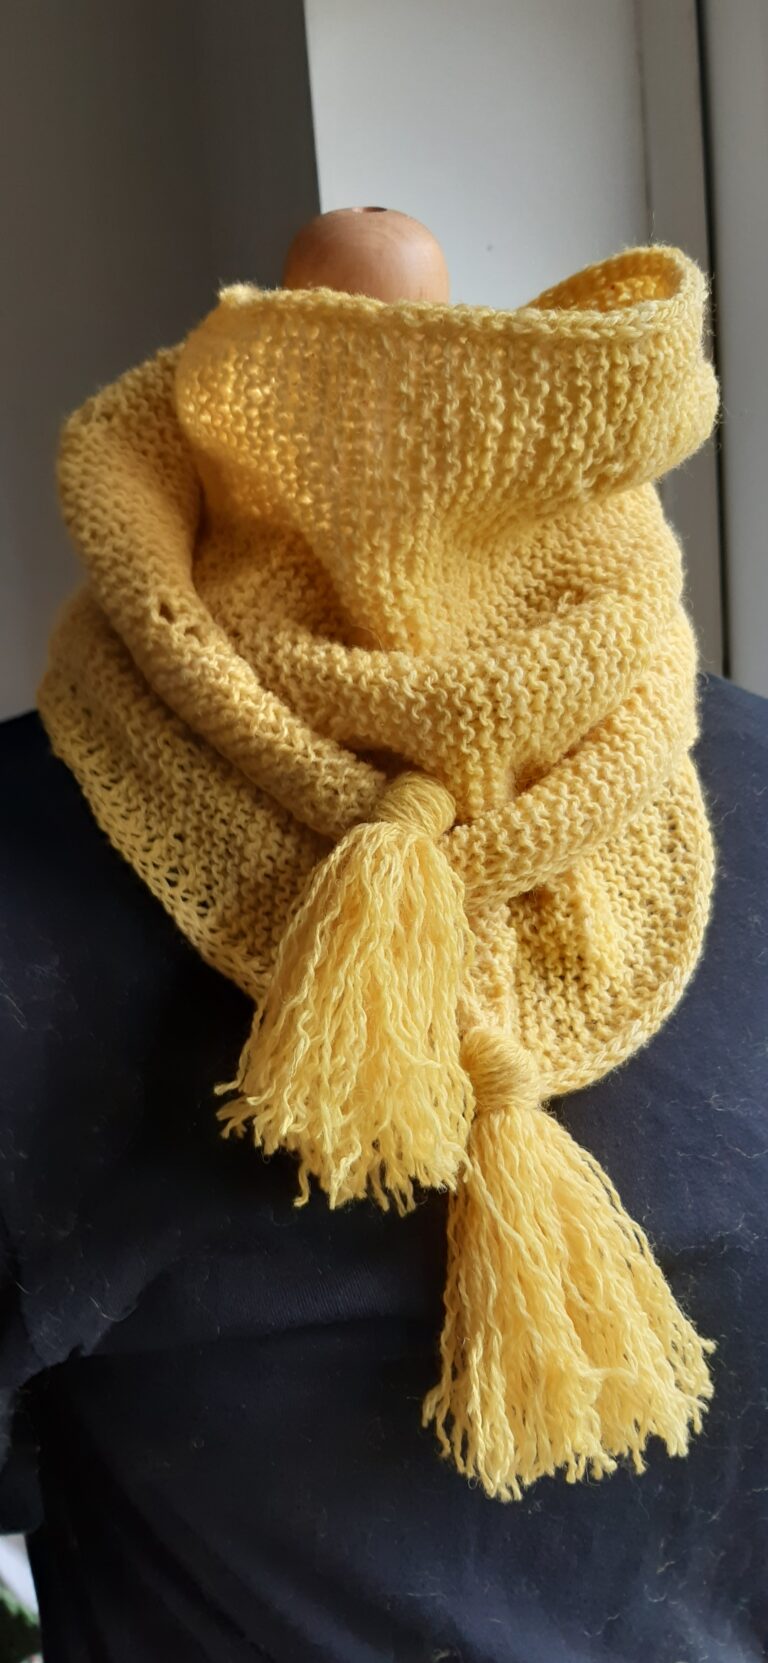
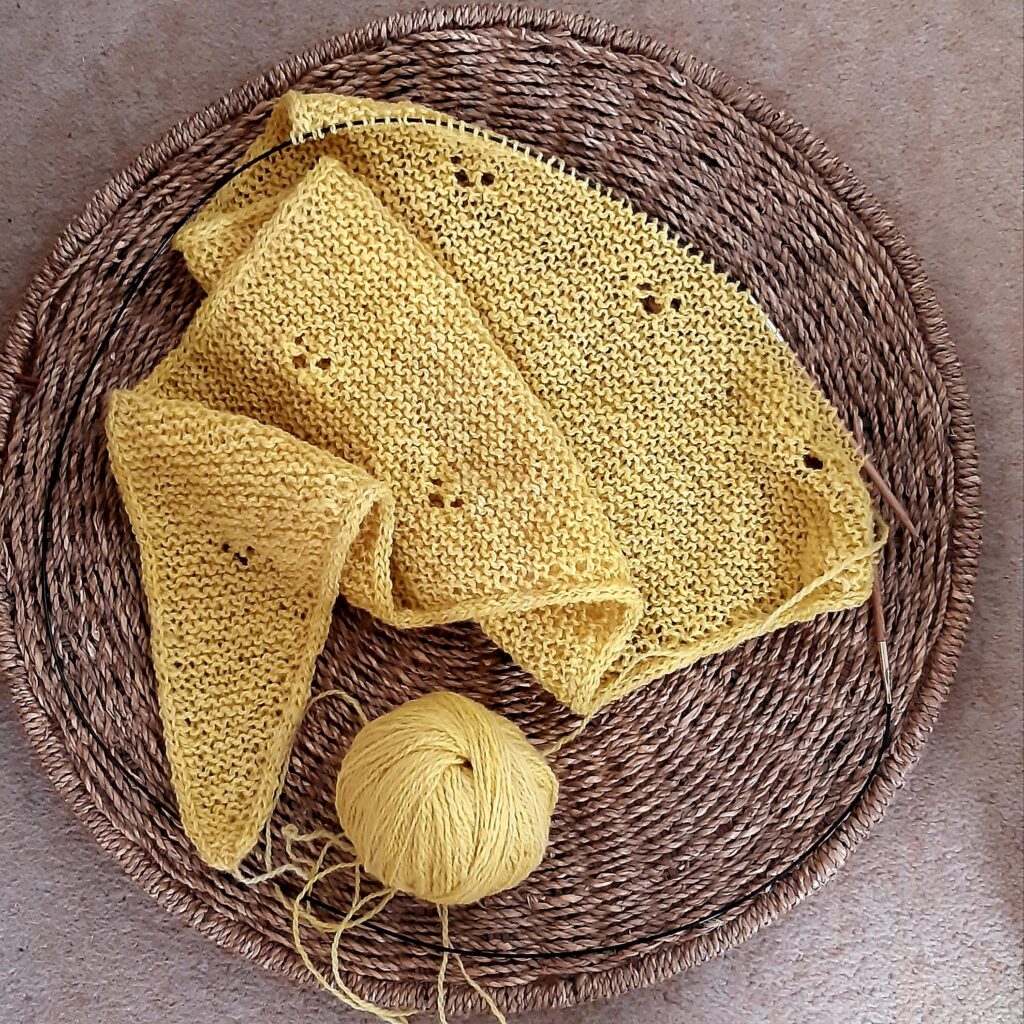
Zea is a one ball shawl. The basic design is a garter stitch triangle with i-cord edges which is knitted flat.

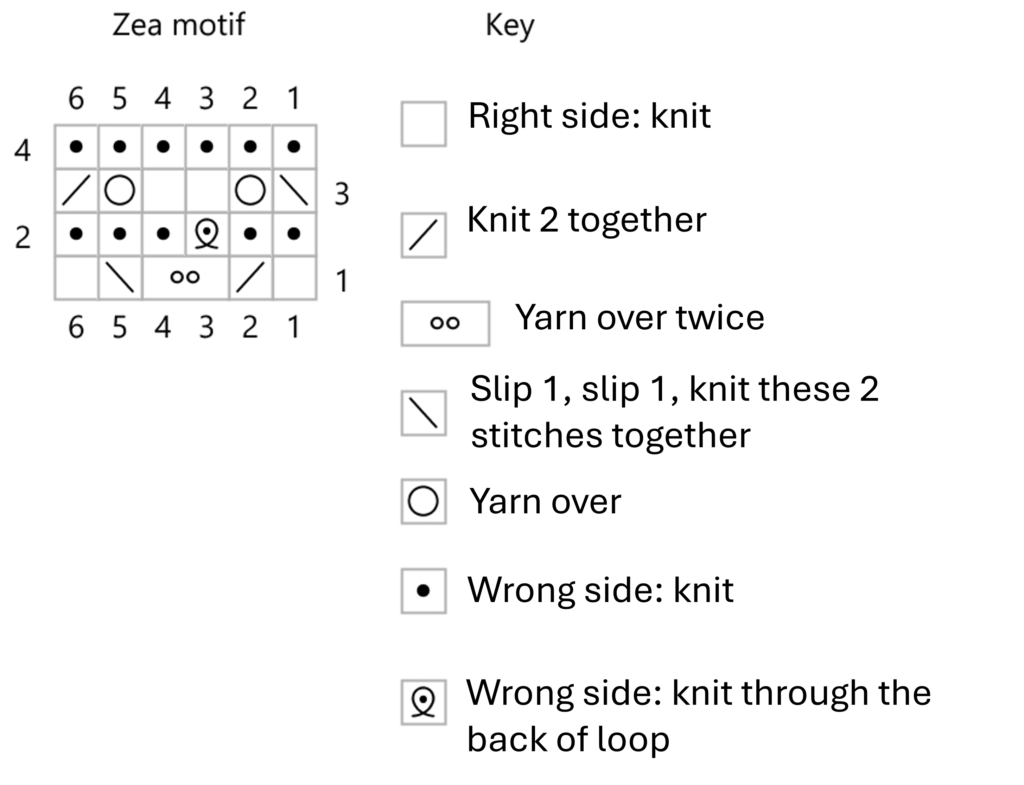
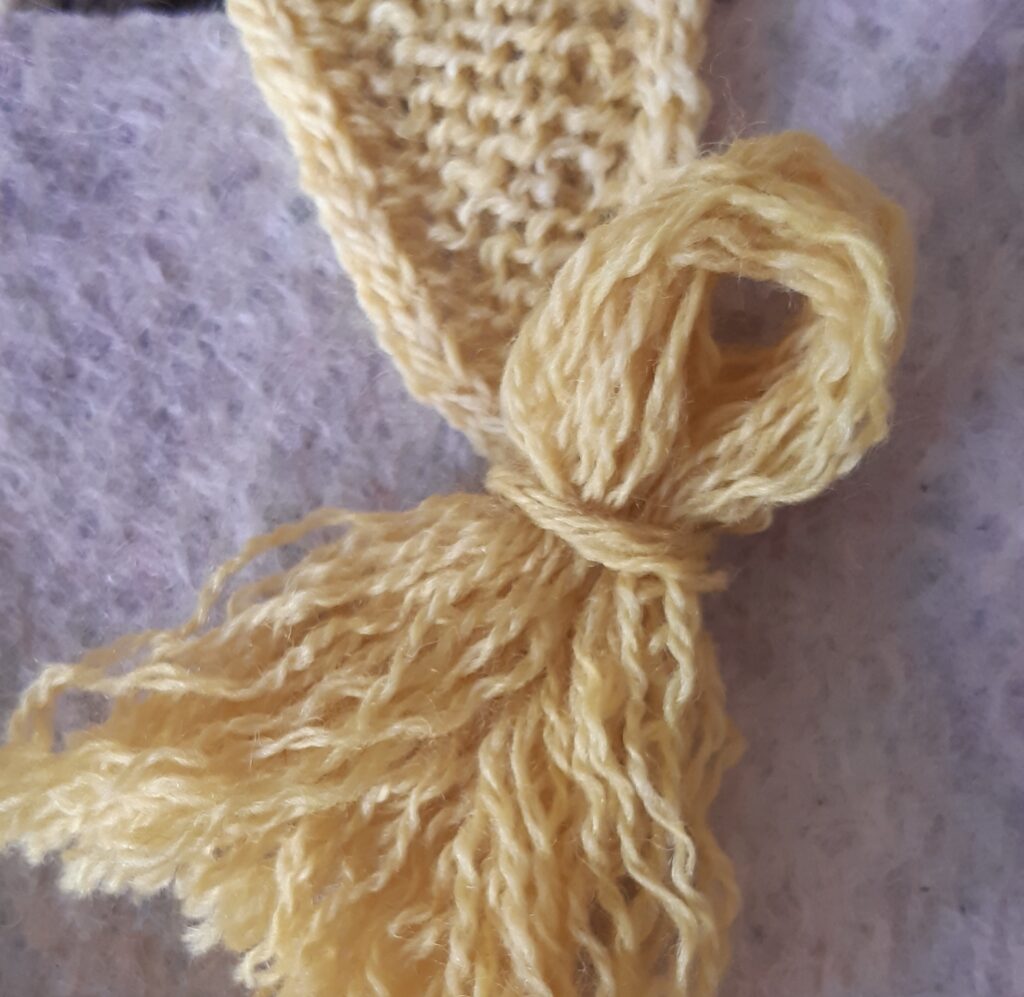
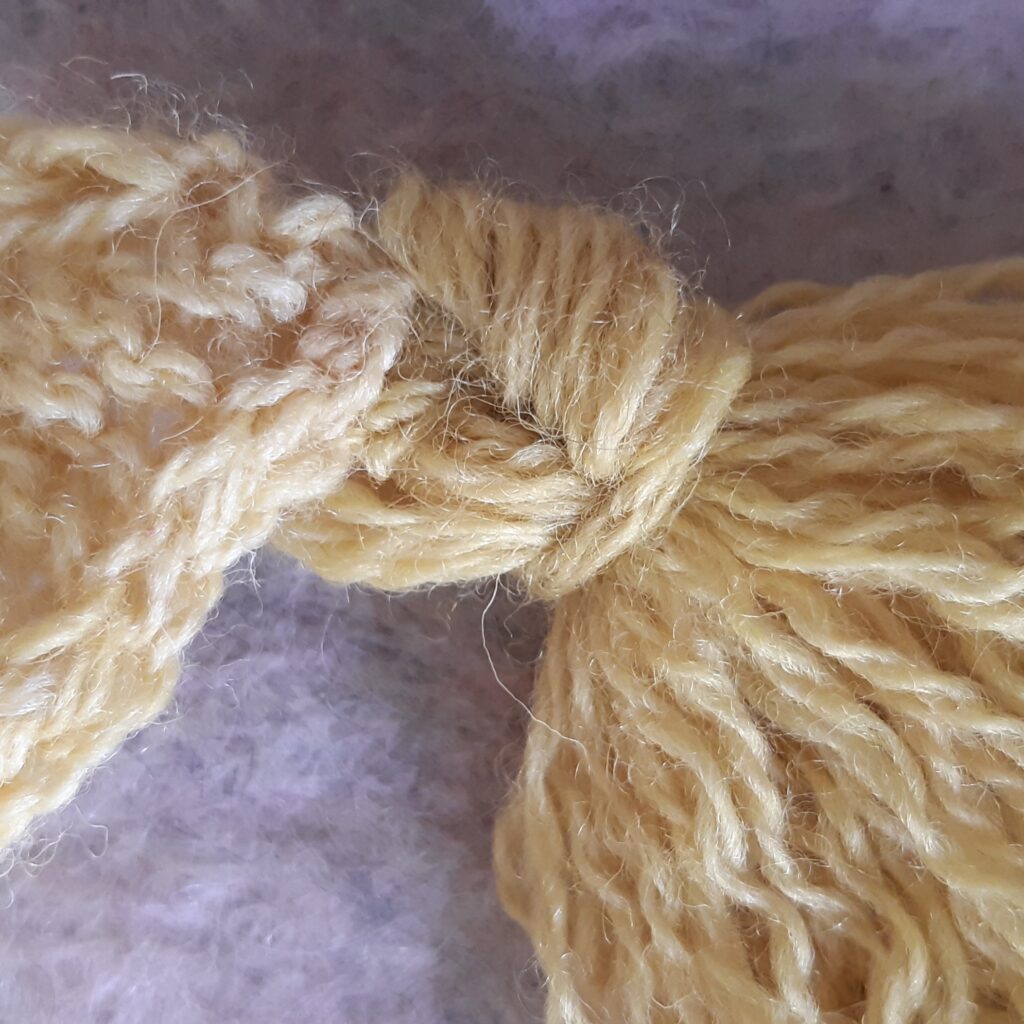
Added elements that are inspired by the corn plant Zea mays are the little eyelet motifs which are scattered about the fabric, and two bold tassels.

Together they make a stylish shawlette that can be adapted for making with any weight of yarn and a reminder of Summer days during the colder times of the year.

What you will need to knit Zea

  • 400m of fingering/lightweight wool
  • 4mm (US 6) needle(s)
  • optional stitch markers
Close-up of a farmer inspecting fresh corn on the cob in a Colombian field.

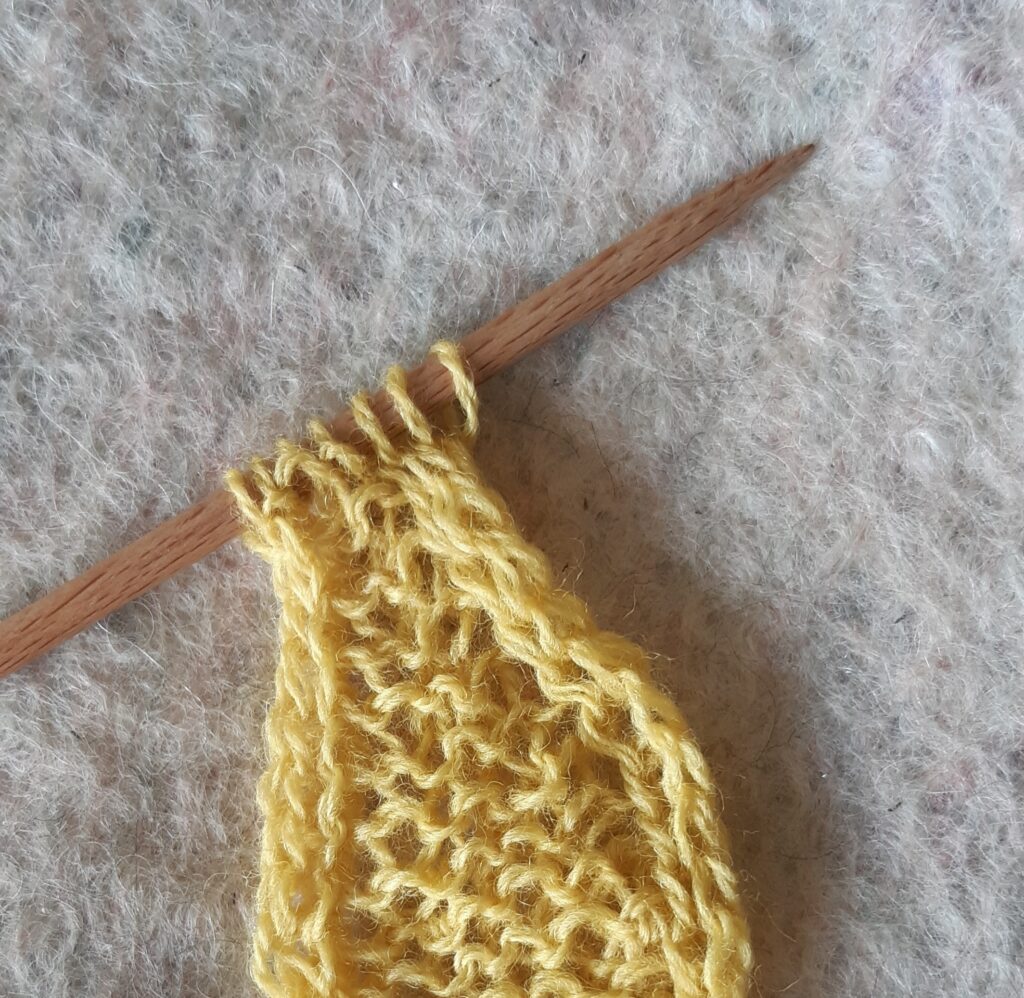
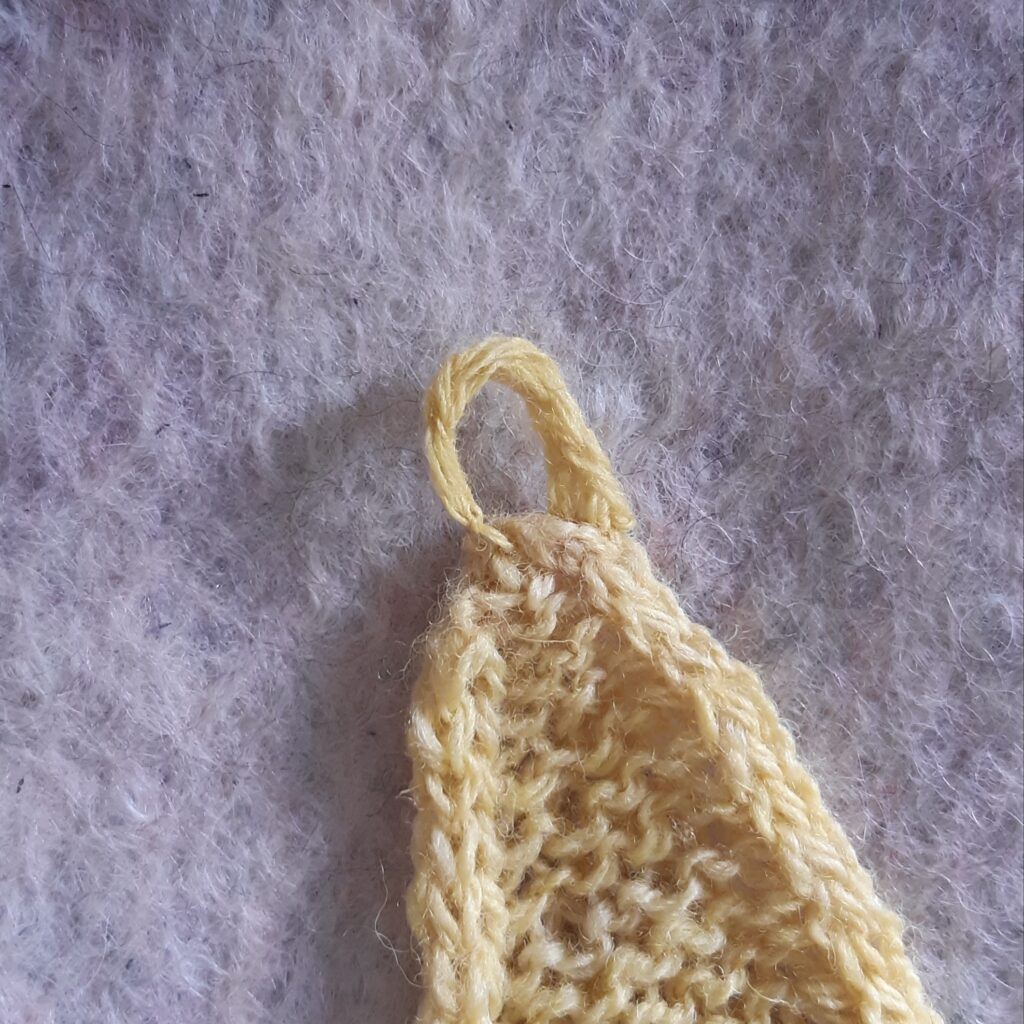
Getting started with the i-cord cast on

Cast on 3 stitches.

First two rows: knit the stitches and then  return them to the left needle.

You will start to pull the stitches into a tube.

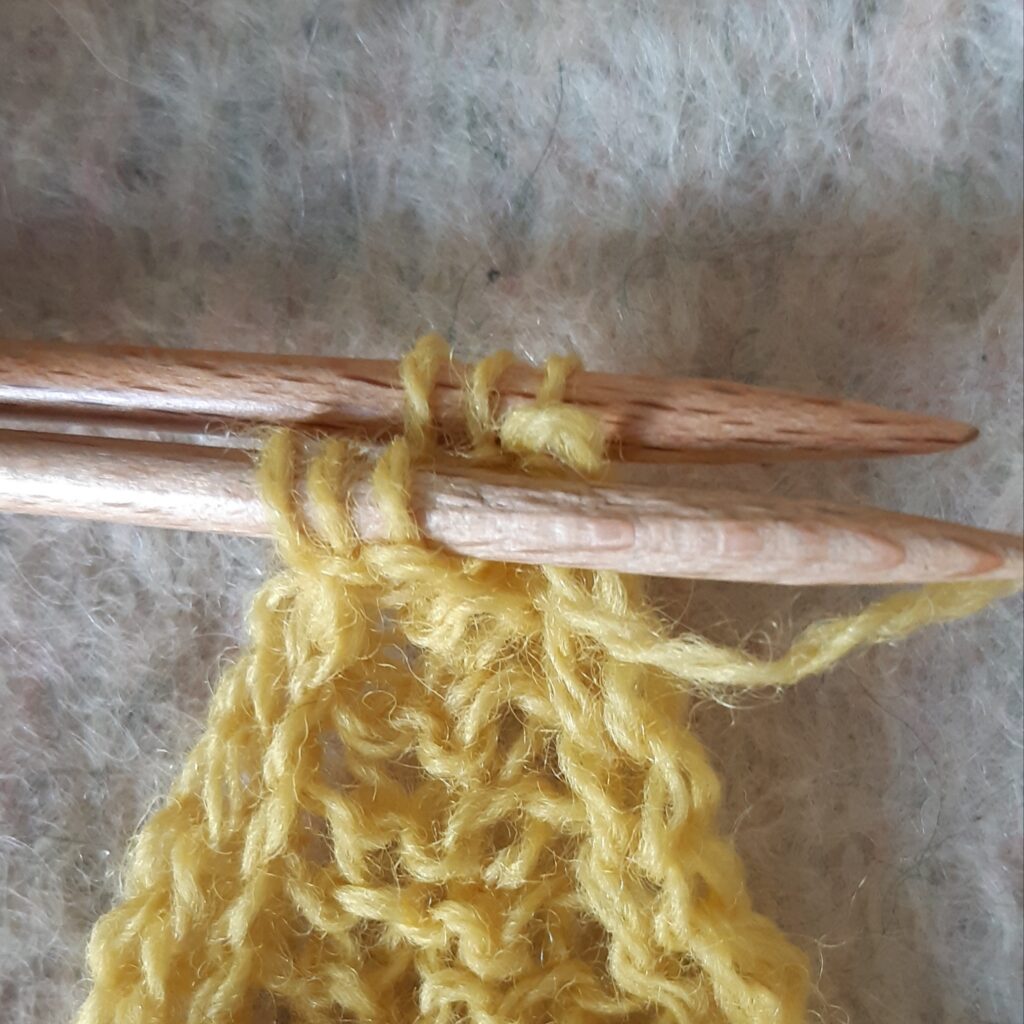
Next row: knit the three stitches. Turn your work by 90 degrees and pick up and knit 1 stitch from the side edge.

Bring your yarn to the front of your work.

Pick up without knitting 3 stitches along the cast on edge.

You now have 7 stitches.


Set up row: Knit to last 3 stitches, bring the yarn forward, slip 3 stitches purlwise.

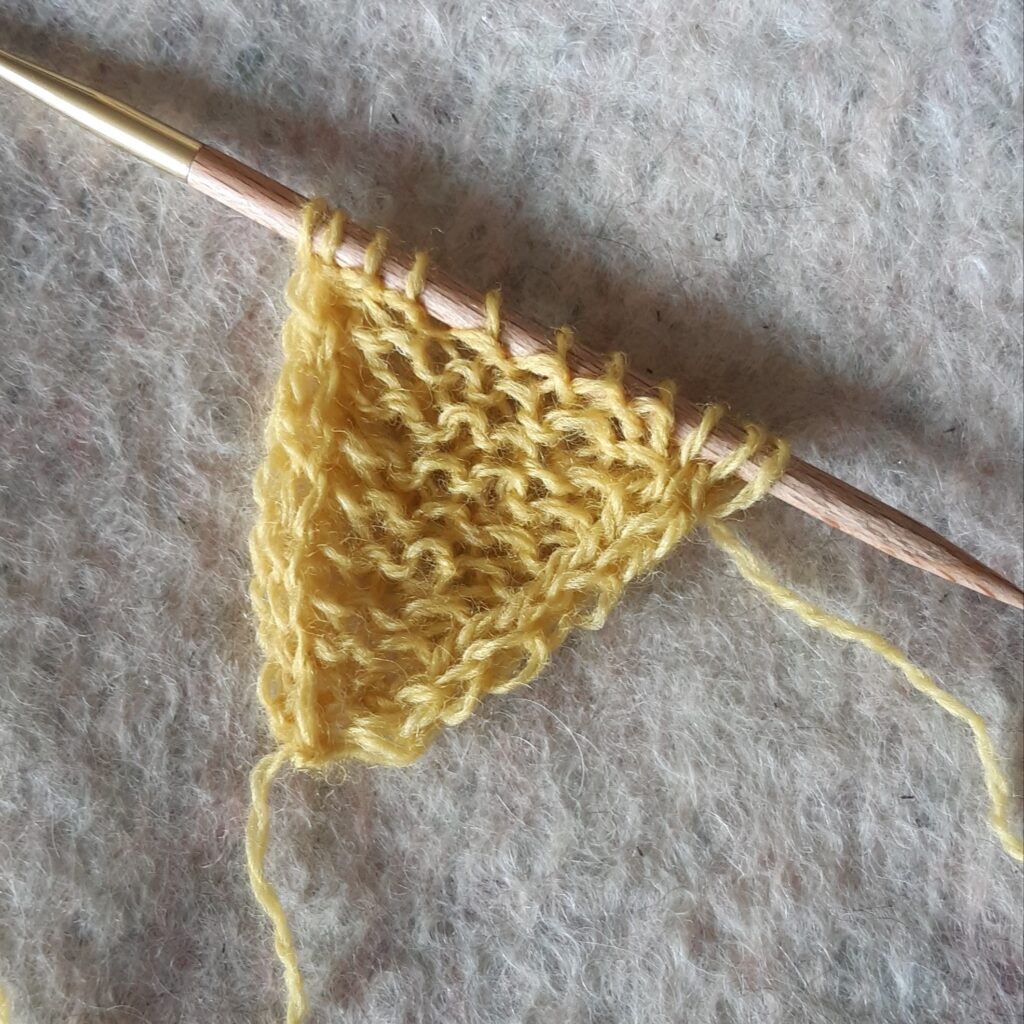
Creating the triangle (increasing)

You start with the right side facing.

Row 1 (increase row): knit 3 stitches, knit forward and back into the next stitch, knit to last 3 stitches, yarn forward, slip 3 stitches purlwise.

Rows 2-4: Knit to last 3 stitches, bring the yarn forward, slip 3 stitches purlwise.

You may wish to put a stitch marker on the right edge at least until the slope of the triangle becomes obvious.

Repeat these 4 rows until you have used nearly half your wool. I had a 100g ball and stopped after 48g.


Creating the triangle (decreasing)

Row 5 (decrease row): knit 3 stitches, knit 2 stitches together, knit to last 3 stitches, yarn forward, slip 3 stitches purlwise.

Rows 6-8: Knit to last 3 stitches, bring the yarn forward, slip 3 stitches purlwise.

Repeat these 4 rows until you have 7 stitches remaining.

Finishing with the i-cord bind off

Bind off row: knit 2 stitches, knit 2 stitches together through the back of loop.

You now have 3 stitches on each needle.

You then match the wrong sides together.

Graft the stitches together using Kitchener stitch.

Placing the eyelet motifs

Using the above chart you can place the motif wherever you like.

I chose to put mine about every 32 rows and spaced them out with no more than 3 motifs in any one row.

I was inspired by this micrograph  of the plant stem.


Making and attaching the loops for the tassels

First you need to create two small i-cords.

Cast on 3 stitches.

Knit these stitches and then return them to the left needle.

Repeat this row another 9 times.

Cast off your stitches and leave a tail for sewing this cord to the shawl.

Make another i-cord.

Create a loop with one cord and attach both ends to the cast-on tip of the shawl.

Repeat at the cast-off tip with your other cord.

Making the tassels

Divide your remaining yarn into two fairly equal weights.

Wrap the wool around your fingers or piece of card.

I suggest the tassel should be at least 12cm (5 inches) long.

Keeping the yarn folded and holding on to that edge, cut along one side of your loop.

Insert the folded edge through the i-cord loop until about 5cm (2 inches) is poking through.

Then insert your cut ends through the loop of yarn you have just made and pull the yarn through to make a tight, secure knot.

Trim the edges of your tassel.


Using different yarns

This is a pattern recipe and can be used for working with different weights of yarn.

I do think you will need at least 400m though.

I suggest that you use a needle at least 2 sizes bigger than recommended on the ball band in order to get a fabric that drapes nicely.

Changing the shape

Using the same basic ideas of increasing and decreasing next to the i-cord sections you can change the shape.

Shaping every 6 rows will give you a thinner, longer shawl.

Shaping on both sides at the tips and then knitting without shaping for the central section will give you a tapered scarf.

Whatever you do, I hpe that you enjoy making your Zea Shawl.